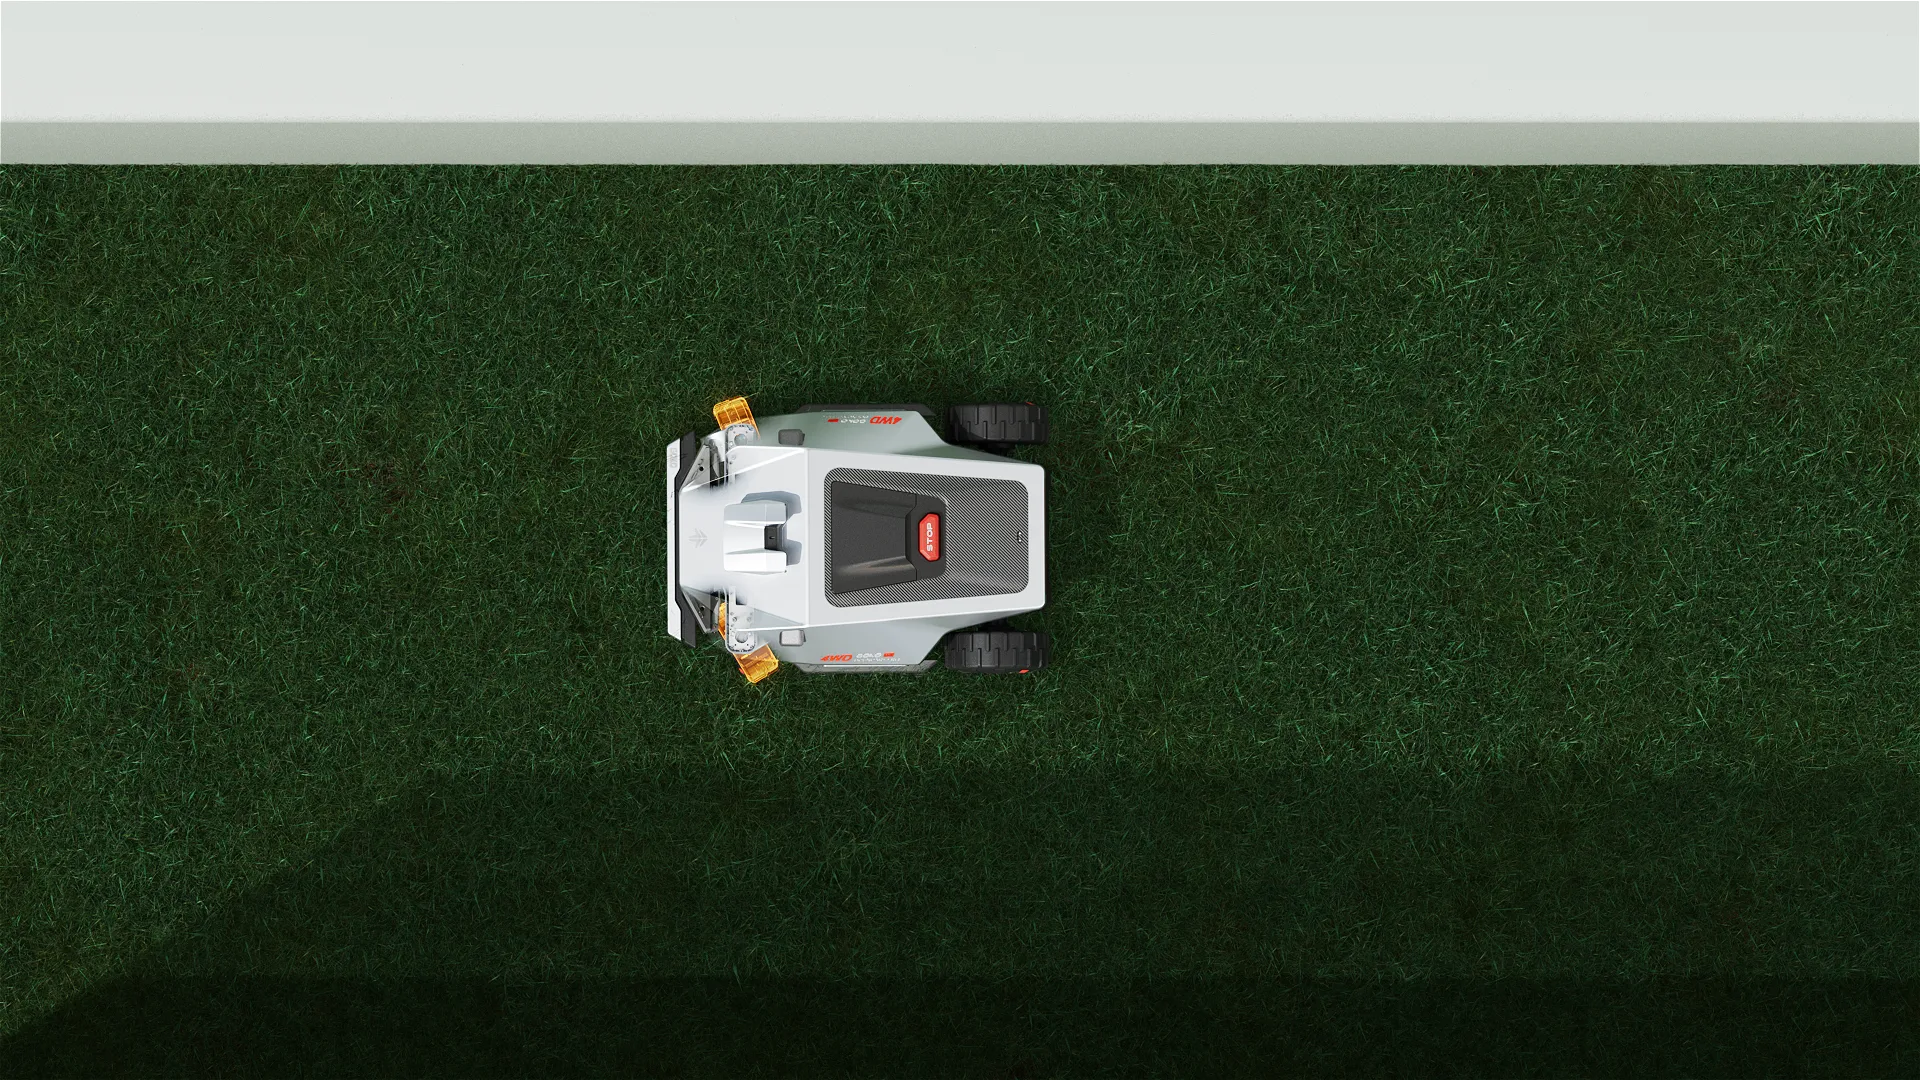
Ask anyone who bought a first-generation robotic mower what they remember most, and it usually isn’t the cutting quality. It’s the weekend they spent on their knees with a hammer, a spool of boundary wire, and several hundred plastic pegs — trenching a perimeter around every flower bed, tree ring, and patio edge. Then, a month later, an aerator or a curious dog broke the loop somewhere in the yard, and the whole afternoon started over.
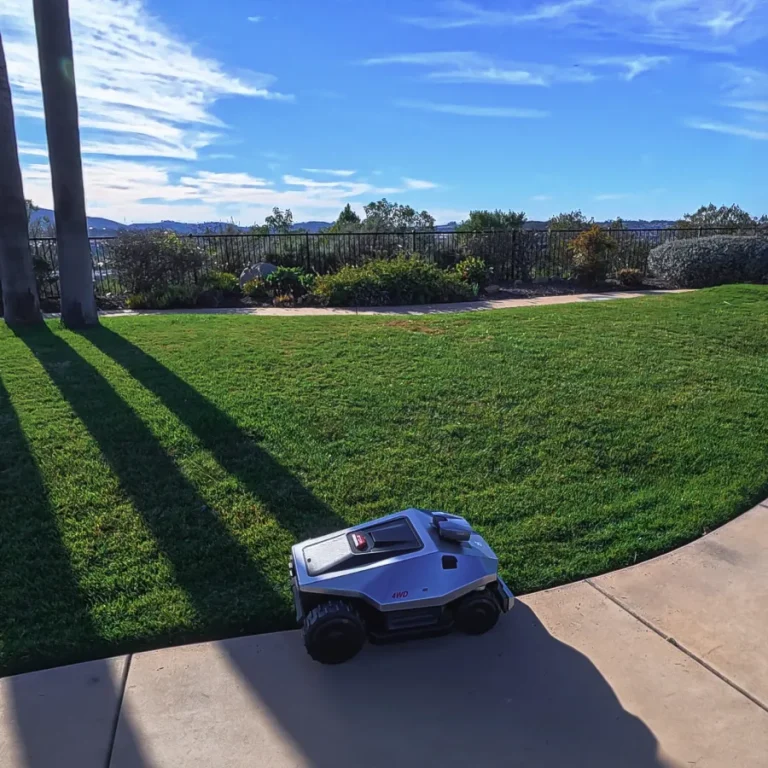
That era is ending. A modern wire free robot lawn mower builds its own map, defines its own boundaries, and starts cutting the same day it arrives. The GOKO M6 is built around exactly this promise: unbox, place, map, mow — roughly thirty minutes, no cable, no stakes, no trenching.
Below is what that half hour actually looks like.
Why Wire Free Setup Changes Everything
Boundary wire exists to solve one problem: the mower needs to know where the lawn ends. Older machines had no reliable way to locate themselves, so the yard had to be physically fenced with a signal loop.
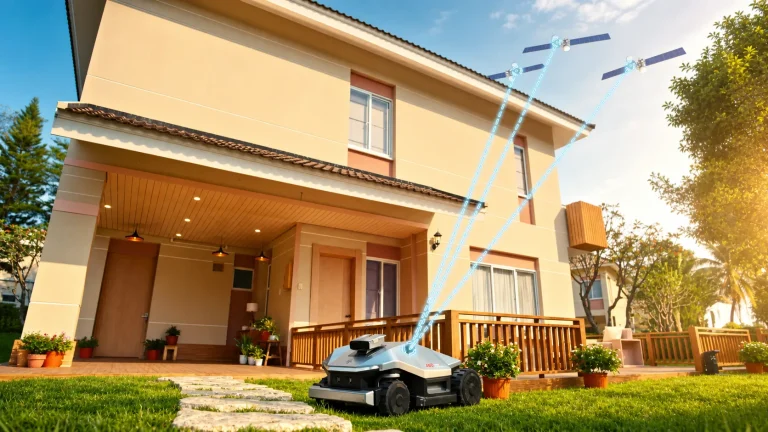
Positioning technology has since made that workaround obsolete. The GOKO M6 uses CyberNav™ Fusion Navigation, which blends RTK and nRTK satellite positioning, VSLAM visual navigation, an IMU, and wheel odometry into a single continuous position estimate. When satellite reception drops under a dense tree canopy or beside a two-story wall, visual navigation and inertial tracking carry the mower through. The result is centimeter-class awareness of where the machine is — which means the boundary can live in software instead of underground.
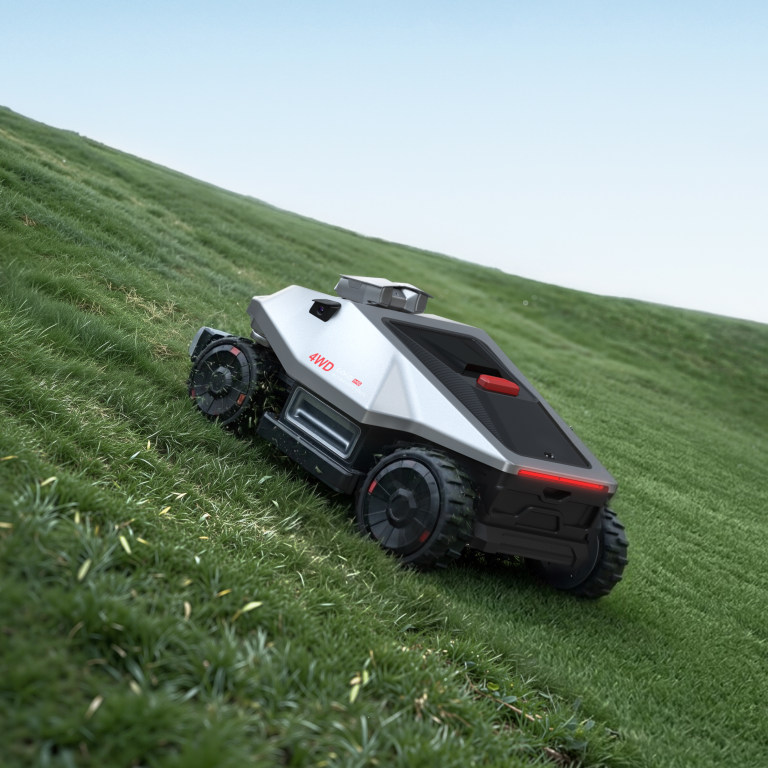
For homeowners, three practical things follow. Installation drops from a full day to a coffee break. Boundaries become editable: drag a line in the app instead of digging one up. And a robot lawn mower for easy installation stops being a compromise on capability — the M6 still handles 42° (90%) slopes, gravel paths, tree roots, and up to one acre per charge.
Before You Start: A Five-Minute Prep Checklist
The single biggest cause of a slow install isn’t the mower. It’s an unprepared yard.
- Mow once with your existing mower if the grass is taller than about four inches. The M6’s cutting range is 1–4 inches; very long grass makes the first mapping pass harder than it needs to be.
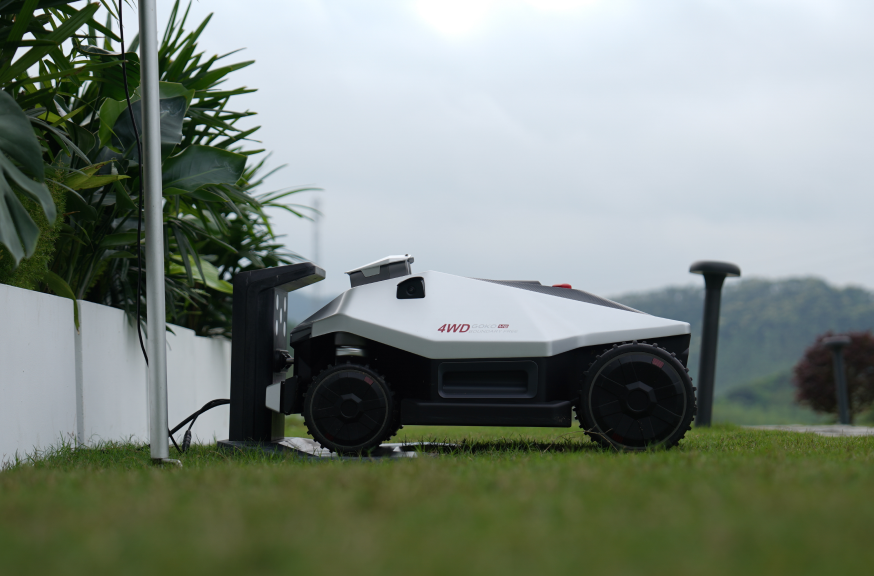
- Pick a dock location on level ground, near a standard outdoor outlet, with roughly ten feet of clear runway in front of it for approach and docking. Partial shade is ideal.
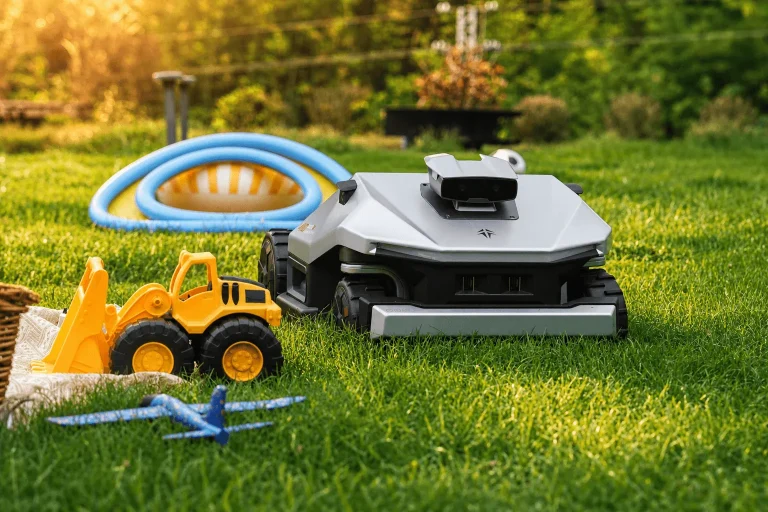
- Clear the obvious. Hoses, dog toys, garden tools. The QuadVision system recognizes 200+ object types, but the map is cleanest when the lawn is.
- Charge your phone and download the GOKO app. Have your Wi-Fi password ready.
- Scan the sky. The RTK or nRTK reference station needs a wide, unobstructed view — a roof edge, a fence post, or an open corner of the yard, not under a maple.
The 30-Minute Deployment, Step by Step
Minutes 0–8: Unbox and Set the Charging Station
Everything you need ships in the box: the mower, the charging station and base plate, its power supply, the RTK reference station with its own power supply and a 10-meter extension cable, a trident ground stake, two mounting poles, an Allen key, a screwdriver, and spare blades.
Seat the base plate on flat turf, press it down until it sits flush, and anchor it. Clip the charging station on top and route the power cable along a lawn edge to the outlet. There is no wire to bury — the cable to the dock is a power cord, not a boundary loop, and it stays above ground.
Minutes 8–15: Mount the RTK or nRTK Reference Station
This is the one step people over-think. The reference station corrects satellite drift; it does not draw a border. Two mounting options are included: the trident ground stake for open lawns, or the mounting poles for a fence or wall. An optional wall-mount kit exists for eave or siding installations.
The rule is line of sight, not proximity. Put it high, put it clear, and keep it fixed once it’s mounted. Then run the extension cable to power. That’s the hardware done.
Minutes 15–20: Power Up and Pair
Power the station, wake the mower, and follow the on-device 4.3″ color screen through initial pairing. Connect the M6 to your phone over Bluetooth, then hand it your Wi-Fi credentials. Units with 4G service will hold a connection even where home Wi-Fi doesn’t reach the far corner of the property. Firmware updates, if any, install here — start them now and they finish while you’re mapping.
Minutes 20–28: Automatic Mapping
Here is where a wire free robot lawn mower earns its name. The GOKO M6 recognizes lawn boundaries and generates a virtual map on its own — no wires, no stakes, no manual perimeter tracing. Place it on the grass and start the mapping task from the app.
The mower walks the yard, reads the edges, and builds a map that can store up to 15 acres (60,000 m²) across unlimited zones. Watch the first couple of minutes to confirm it’s reading your borders the way you expect; after that, you can go make coffee.
Minutes 28–30: Zones, Schedule, Go
With a map on screen, finish the configuration:
- Draw no-go zones around flower beds, ponds, tree rings, or the vegetable patch.
- Set cutting height anywhere from 1 to 4 inches.
- Choose a mowing pattern — preset stripes or a custom angle.
- Build a schedule. Then stop thinking about it.
From this point the M6 behaves like any good automatic lawn mower should: it leaves the dock on schedule, mows, returns to recharge when the battery runs low, comes home early if rain detection triggers, and varies its path pattern each session to reduce wheel tracks and soil compaction.
FAQs
Q: Do I really not need any boundary wire or perimeter stakes? Correct. The GOKO M6 builds its map through automatic boundary recognition and virtual mapping — no wires, no stakes, no manual tracing. The only things you physically install are the charging station and the RTK reference station.
Q: Where should I mount the RTK reference station? Anywhere with an open, unobstructed view of the sky and a fixed, stable mount — a fence post, an open lawn corner using the included trident stake, or a wall or eave using the mounting poles or the optional wall-mount kit. Avoid mounting it under tree cover or against a tall wall that blocks half the sky.
Q: What happens when the mower drives under trees and loses satellite signal? Fusion navigation is the answer. VSLAM visual navigation, the IMU, and wheel tracking maintain positioning through low-signal areas, then the system re-acquires satellite correction when it emerges. Without RTK correction at all, the M6 can still mow roughly 1,600 ft² (150 m²) for about 10 minutes — enough to cross a shaded pocket, not enough to replace the reference station.
Q: How long does the initial map take on a larger property? Mapping time scales with lot size and complexity. A typical suburban lawn maps in the range of the 30-minute window described here. Multi-acre or heavily subdivided yards with many separate zones take longer — but this is a one-time cost, and boundaries can be edited in the app afterward without remapping from scratch.
Finally
The value of a robot lawn mower for easy installation isn’t just the hour you save on day one. It’s every hour after: no cable breaks to hunt down, no re-pegging after aeration, no re-trenching when you extend the patio. You reshape a boundary by dragging it on your phone.
Set the dock. Mount the station. Let it map. Then go do something else with your Saturday.